
How to Add Film Grain in DaVinci Resolve: A Complete Guide
Learn how to add authentic film grain to your videos in DaVinci Resolve, from built-in methods to advanced techniques that create cinematic looks.
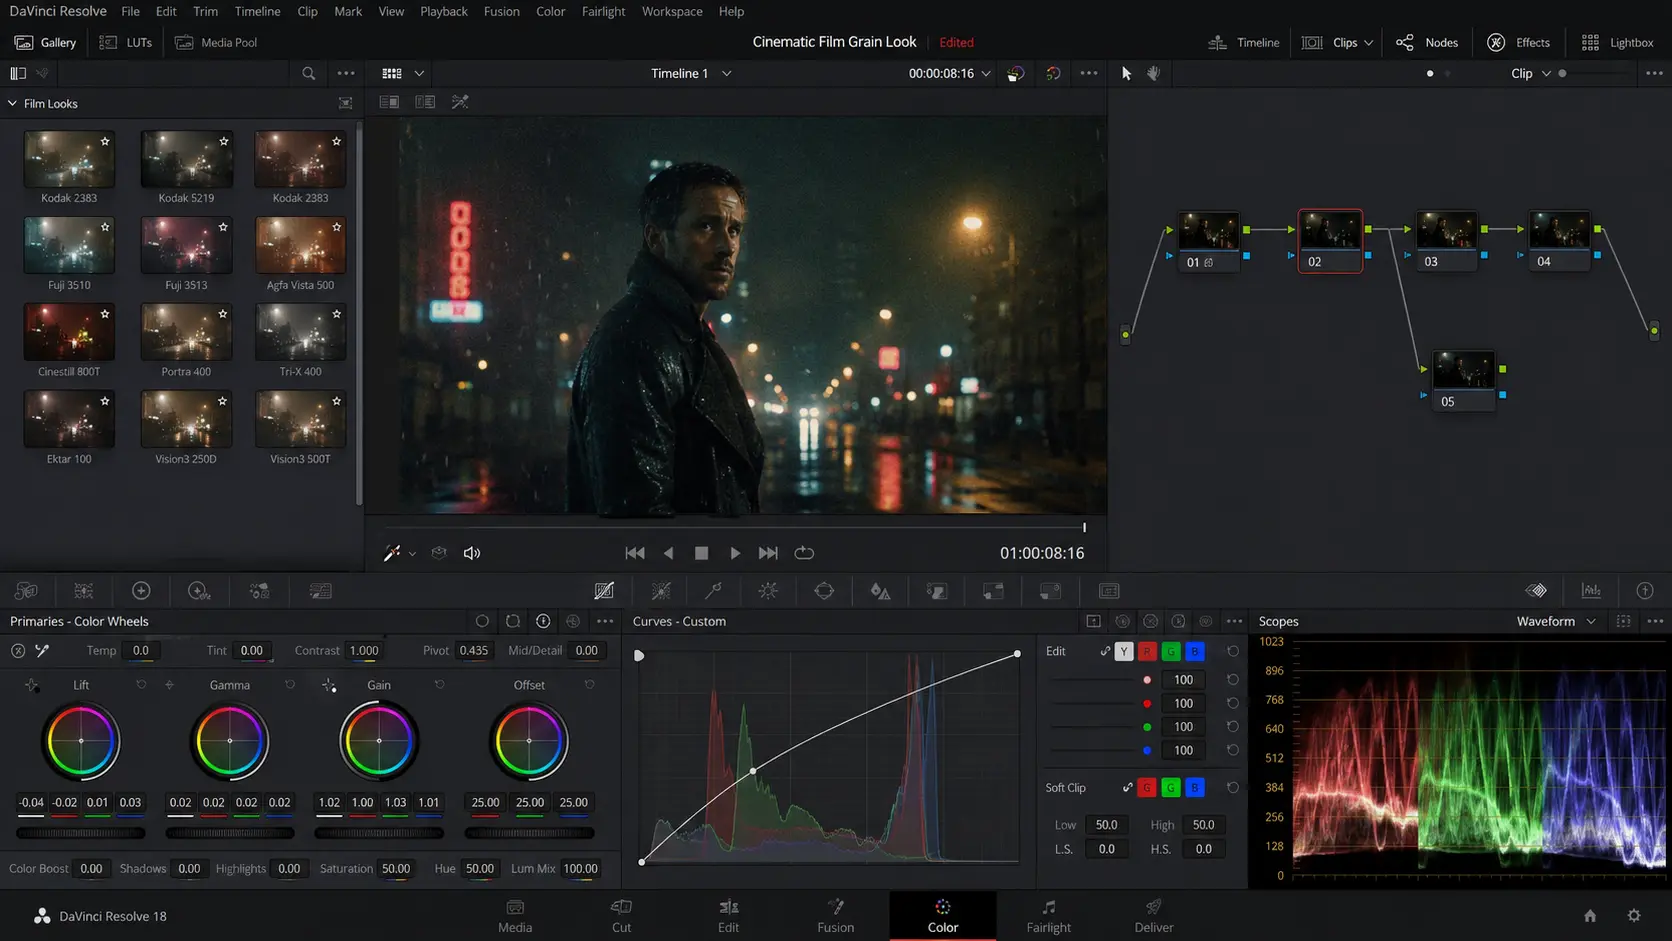
Film grain is one of the most sought-after effects in modern video production. While digital cameras produce clean, noise-free images, many filmmakers and content creators intentionally add grain to achieve a cinematic, organic look. DaVinci Resolve offers multiple ways to add film grain, from simple built-in effects to advanced node-based workflows. This guide covers everything you need to know about adding grain in DaVinci Resolve.
1. Why add film grain to digital video?
Digital footage often looks too clean and clinical. Film grain adds texture and character that audiences subconsciously associate with cinema. It helps blend CGI elements with practical footage, reduces banding in gradients, and can even make compression artifacts less noticeable. Understanding why you want grain helps you apply it appropriately.
- Creates a cinematic, organic aesthetic
- Helps blend visual effects with practical footage
- Reduces visible banding in smooth gradients
- Makes compression artifacts less noticeable
2. Method 1: Using the Film Grain effect
DaVinci Resolve includes a built-in Film Grain effect in the OpenFX library. Navigate to the Effects Library, search for 'Film Grain', and drag it onto your clip or an adjustment layer. The effect offers controls for grain size, intensity, and color response. Start with low values and increase until you achieve the desired look.
3. Method 2: Adding grain in the Color page
For more control, use the Color page to add grain. Create a new node, then use the 'Add Film Grain' OpenFX effect. This approach lets you use masks and qualifiers to limit grain to specific areas. You can also keyframe grain intensity to vary throughout your timeline.
- Create a dedicated node for grain
- Use masks to limit grain to specific areas
- Keyframe intensity for varying grain levels
- Combine with other film emulation effects
4. Method 3: Overlaying grain footage
For the most authentic look, overlay actual scanned film grain footage. Import your grain plate, place it above your video on the timeline, and set the composite mode to Overlay or Soft Light. Adjust opacity to taste. This method produces the most realistic results because it uses actual film texture.
5. Matching grain to your footage
Different cameras produce different noise characteristics. Match your added grain to your source footage's native noise pattern. Consider the grain size relative to your resolution - 4K footage needs finer grain than 1080p. Also match the color response - some grain affects shadows more than highlights.
6. Best practices and common mistakes
Avoid adding too much grain - subtlety is key. Don't add grain before color grading, as grading changes will affect the grain appearance. Consider adding grain as one of the final steps in your workflow. Export a test clip before committing to the full render, as grain looks different on different screens and compression settings.
- Apply grain subtly - less is usually more
- Add grain after color grading is complete
- Test on multiple screens before final export
- Consider how compression will affect grain visibility
FAQ
Does adding film grain increase file size?
Yes, grain adds detail and randomness that compression codecs struggle with. Expect larger file sizes or lower quality at the same bitrate. Consider this when planning your delivery specs.
Should I add grain before or after color grading?
Add grain after color grading. If you add grain first, subsequent adjustments will alter the grain's appearance. Grain should be one of the final touches on your image.
What's the difference between film grain and digital noise?
Film grain is a chemical texture from physical film emulsion, typically considered aesthetically pleasing. Digital noise is an electronic artifact from sensor limitations, usually considered undesirable. They have different visual characteristics and are used for different purposes.