
How to Create a Backwards Audio Effect: Complete Guide for Video Editors
Learn how to reverse audio and create backwards audio effects for transitions, intros, and creative sound design in any video editing software.
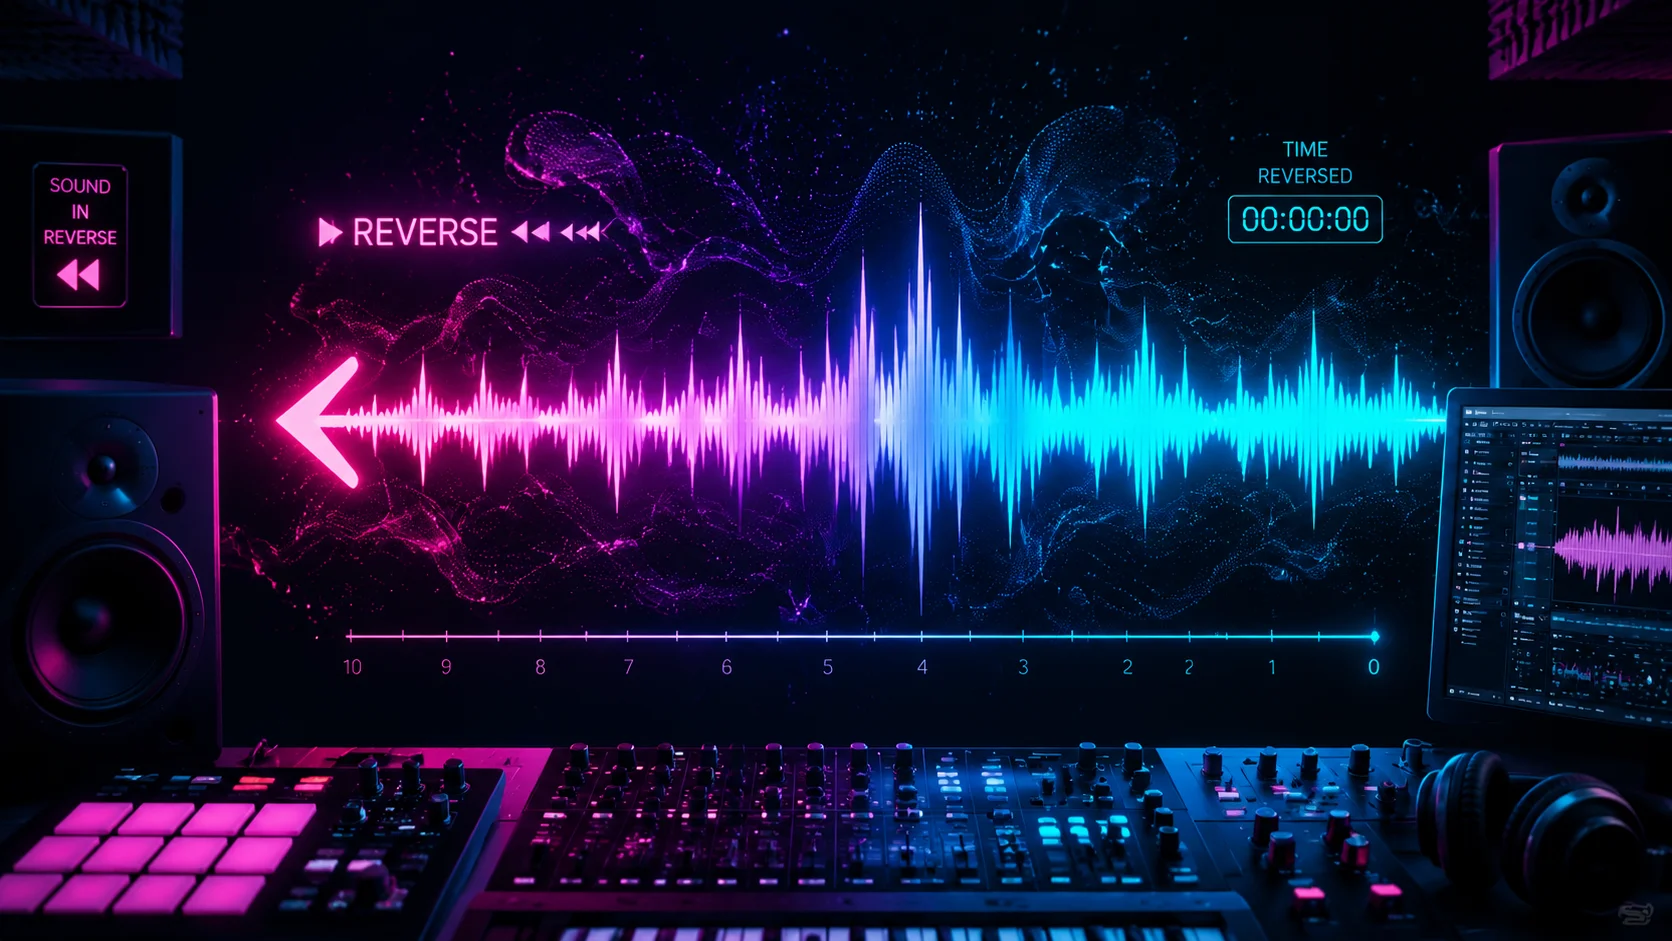
The backwards audio effect is one of the most versatile tools in a video editor sound design arsenal. From eerie horror transitions and psychedelic intros to smooth risers and creative vocal effects, reversed audio adds a layer of intrigue and otherworldly texture that forward audio simply cannot produce. The technique is straightforward to execute but offers surprising creative depth when you understand the principles behind it. This guide covers how to create backwards audio effects in popular editing software, when to use them for maximum impact, and advanced techniques that go beyond a simple reverse function.
1. What Is the Backwards Audio Effect and Why Does It Work?
When you reverse an audio clip, every sound plays from end to beginning. This inverts the natural attack and decay of sounds. A piano note that normally attacks sharply and decays gradually instead swells slowly and cuts off abruptly. This reversal of the expected envelope creates a sense of anticipation, unease, or surrealism that the human brain finds compelling. Our auditory system is wired to recognize attack patterns as indicators of sound sources and physical events. When those patterns are reversed, the brain cannot immediately categorize the sound, which creates tension and curiosity. This psychoacoustic principle is why reversed audio works so well for transitions, build-ups, and atmospheric sound design in video content.
- Reversing audio inverts the natural attack-decay envelope of every sound
- The brain cannot immediately categorize reversed sounds, creating tension
- Sharp sounds become slow swells; sustained sounds become abrupt cuts
- This psychoacoustic effect makes reversed audio ideal for build-ups and transitions
2. How to Reverse Audio in Popular Editing Software
Most video and audio editing software includes a reverse function. In Adobe Premiere Pro, right-click the audio clip and select Speed/Duration, then check the Reverse Speed box. In DaVinci Resolve, right-click the audio clip in the Fairlight page and choose Change Clip Speed, then enable Reverse. In Final Cut Pro, select the clip, open the Retime menu, and choose Reverse. In Audacity, select the audio region and use Effect then Reverse. The process is nearly identical across all tools: select the clip, apply the reverse function, and the waveform flips. The key difference between tools is how they handle the transition between reversed and forward audio on the same timeline, which is where more advanced techniques come in.
- Premiere Pro: Right-click then Speed/Duration then Reverse Speed
- DaVinci Resolve: Right-click then Change Clip Speed then Reverse
- Final Cut Pro: Retime menu then Reverse
- Audacity: Effect then Reverse
3. Creating Riser and Swoosh Transitions with Reversed Audio
One of the most common uses of reversed audio is creating riser and swoosh transitions. Take a short impact sound, whoosh, or even a piece of dialogue and reverse it. Place the reversed clip just before the cut point so it swells up to the transition moment and then cuts off exactly at the edit point. Add a forward version of the same sound immediately after the cut to create a mirrored swoosh effect. The combination of the reversed swell leading into the forward impact creates a satisfying audio bracket around the visual transition. Adjust the volume curve so the reversed portion starts quiet and builds gradually. You can also add reverb to the reversed portion and then cut the reverb tail sharply at the transition point for a dramatic contrast.
- Reverse a short impact or whoosh sound and place it before the cut point
- Add the forward version after the cut for a mirrored swoosh
- Automate volume to build gradually from quiet to loud
- Add reverb to the reversed portion and cut the tail sharply at the transition
- This technique works for scene changes, title reveals, and chapter markers
4. Reversed Vocals and Dialogue for Creative Effects
Reversing vocals creates some of the most distinctive sounds in music production and video sound design. Record or import a vocal phrase, reverse it, and layer it underneath the forward vocal for a ghostly doubling effect. Alternatively, reverse an entire spoken sentence and use it as an atmospheric bed underneath a visual montage or title sequence. For a more controlled approach, reverse individual words or syllables and scatter them across the timeline as texture elements. You can also reverse a reverb tail: send the vocal to a reverb bus, record the reverb output, reverse that recording, and place it before the original vocal. This creates a swelling reverb that leads into the vocal, which is a classic technique in music production that translates beautifully to video intros and emotional moments.
- Layer reversed vocal under forward vocal for ghostly doubling
- Use reversed sentences as atmospheric beds under montages
- Scatter reversed syllables across the timeline as texture
- Create a reversed reverb swell that leads into the original vocal
5. Advanced Techniques: Layering and Processing Reversed Audio
Once you are comfortable with basic reversal, you can combine it with other effects for more sophisticated results. Apply a low-pass filter to reversed audio to create a muffled, underwater quality that works well for dream sequences or flashback transitions. Add delay and feedback to reversed clips to create cascading echoes that build in complexity. Time-stretch reversed audio to slow it down further, creating long, evolving drones from short source sounds. For horror and thriller content, reverse a sustained string or pad sound, apply heavy distortion, and layer it with the forward version at low volume to create an unsettling doubled texture. When working on longer projects with many audio layers, AI-powered tools like ClipMind can help you visualize and organize complex audio stacks, making it easier to manage reversed layers alongside your main audio tracks.
- Apply low-pass filter to reversed audio for dreamy underwater quality
- Add delay and feedback for cascading echo textures
- Time-stretch reversed clips for long evolving drones
- Layer reversed and forward versions with distortion for horror sound design
- ClipMind helps visualize and organize complex multi-layer audio stacks
6. Practical Tips and Common Mistakes
A few practical considerations will help you get cleaner results with reversed audio. Always trim and fade your reversed clips to avoid clicks and pops at the start and end points. Use short crossfades of 10 to 30 milliseconds to smooth the transition between reversed and forward audio. Be mindful of phase issues when layering reversed audio on top of the original; the reversed waveform can create phase cancellation with the forward version, resulting in a thin or hollow sound. Check your mix in mono to catch phase problems early. Another common mistake is overusing the effect. Reversed audio loses its impact if every transition uses it. Reserve the technique for key moments where the anticipation or surreal quality genuinely serves the story. Finally, always preview reversed dialogue carefully to ensure it does not accidentally form unintended words or phrases that could be distracting.
- Trim and fade reversed clips to prevent clicks and pops
- Use 10 to 30 ms crossfades between reversed and forward audio
- Check for phase cancellation when layering reversed and original audio
- Reserve the effect for key moments rather than overusing it
- Preview reversed dialogue to catch unintended word formations
FAQ
Can I reverse audio directly in my video editor?
Yes. Nearly all professional and consumer video editors, including Premiere Pro, DaVinci Resolve, Final Cut Pro, and CapCut, include a built-in reverse audio function that works with a single click or menu selection.
What types of sounds work best when reversed?
Sounds with a clear attack and decay work best: piano notes, cymbal hits, vocal phrases, whooshes, and impact sounds. Sustained tones like drones or pads also create interesting evolving textures when reversed and time-stretched.
How do I avoid clicks when reversing audio?
Apply a short fade-in at the beginning and fade-out at the end of the reversed clip. A 10 to 30 millisecond crossfade is usually enough to eliminate clicks without being audible as a fade.